Unlike other CMS, WordPress is fairly easy to use and not difficult to install. You can create a website on WordPress in less than 5 minutes.
This tutorial explains how to install WordPress on cPanel hosting which is self-hosted WordPress.org, not WordPress.com.
Before starting, there are two things you need to prepare, namely the website domain that you have registered and the hosting package that has been active.
You can use domains and hosting from different services or the same service. Here’s the guide.
Install WordPress Site in cPanel
- Log in to your cPanel hosting account then look for Addon Domains.

- Enter the domain name in the New Domain Name field, usually Subdomain and Document Root will follow automatically. After that click Add Domain.

- If the domain is successfully added, a message like this will appear.

- Return to the main cPanel page and click on WordPress. Note: If you don’t see WordPress, please contact your hosting provider.

- Then, on the WordPress installation page, click Install Now.

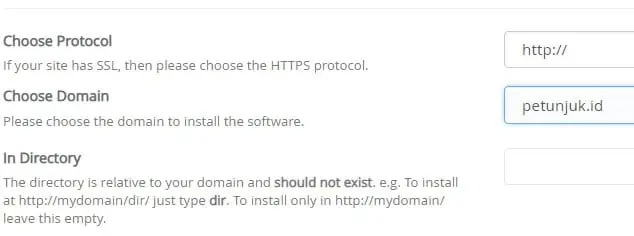
- Select the communication protocol, if you don’t have an SSL certificate, select http:// only. Then select a domain, while directories generally do not need to be filled in.
- Create a site name, may be different from the domain name. And enter a description or slogan for your WordPress website.

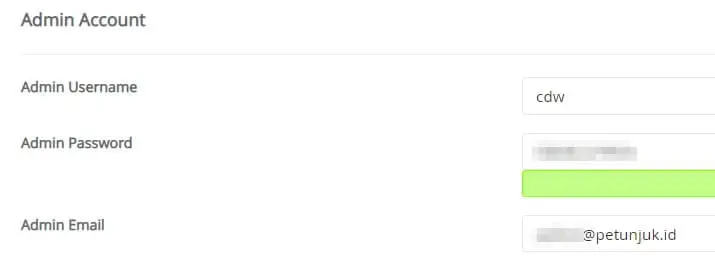
- Select a user name for the administrator, a password, and an email address. Don’t forget to write down this login information because you will need it later.
- After that you will be asked to choose the site language, default plugin (not required), and theme (not required). Finally, click the Install button to start the installation process.
- You will receive a login page ending with wp-admin where you can login using the username and password that you created earlier.
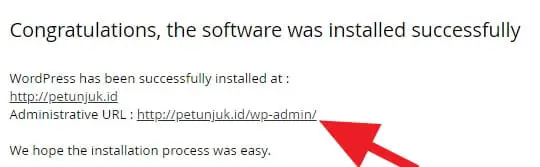
- At this point the tutorial is complete and your first WordPress site can be visited.
Thus the guide to creating a WordPress site via cPanel. Hope it helps you.